A Practical Framework for Safely Installing and Pairing High‑CFM Bathroom Extractors with Integrated Lights
Opening: why a framework beats improvisation
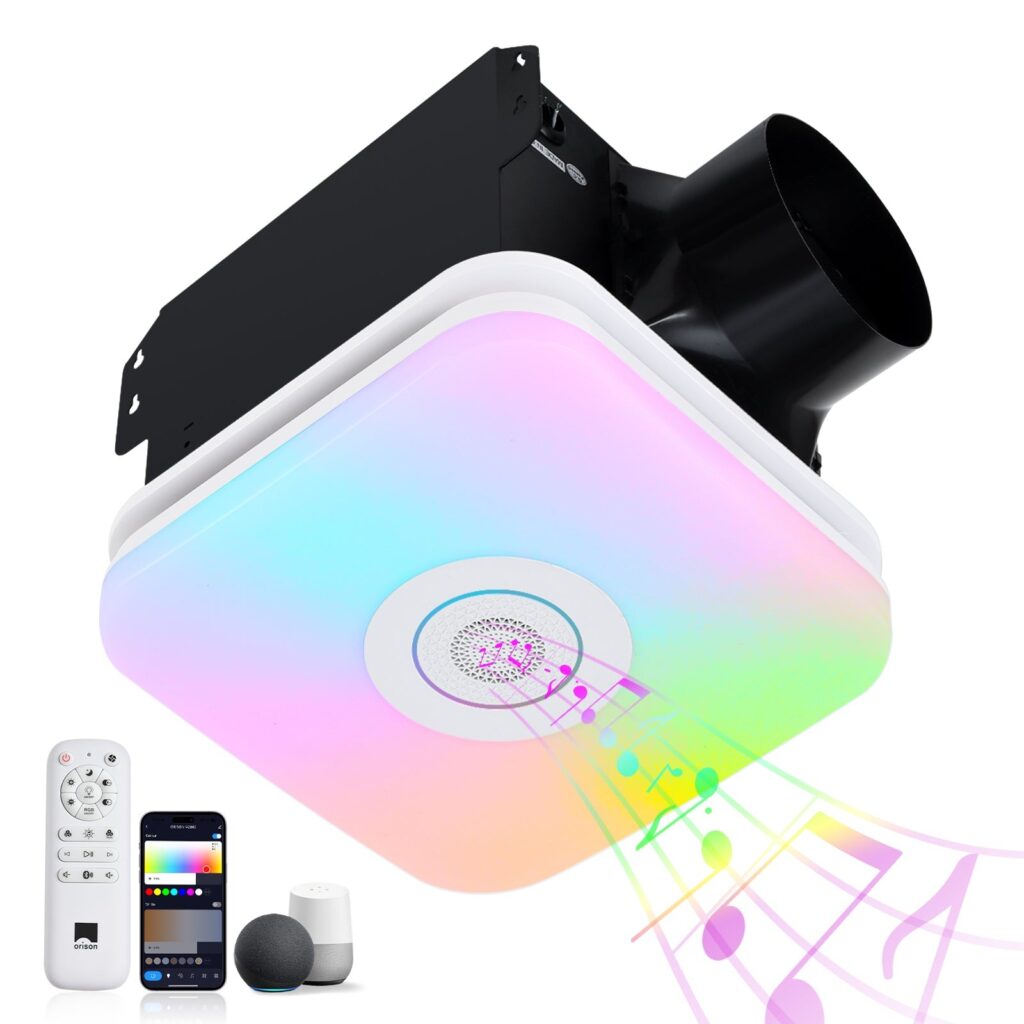
When you tackle a high‑CFM bathroom extractor with integrated light, you need a repeatable, safety‑first process — not guesswork. Start by reading product documentation and local codes; for example, ASHRAE 62.2 recommends roughly 50 CFM intermittent or 20 CFM continuous ventilation for many bathrooms, which informs fan selection and ducting size. If your model combines lighting and smart pairing, such as a bathroom exhaust fan with light, plan both the mechanical and electrical phases before you cut into the ceiling.
Phase 1 — Assess and specify
Define the objective: required CFM, light lumen output, noise target (sone), and whether smart features (Bluetooth/Wi‑Fi) are needed. Measure room volume and humidity load; select a fan that meets the CFM requirement with minimal static pressure loss in the ducting. Verify the circuit: many integrated units require a dedicated 120V circuit and may need a neutral and ground for light and sensor functions. Document these specs so the installer and electrician share the same expectations.
Phase 2 — Prepare the site
Safety first: switch off the breaker, verify with a non‑contact tester, and ensure work area protection. Remove the existing fixture carefully and inspect ceiling joists, attic access, and available clearance for the motor housing. Plan the duct run: shorter and straighter is better — install a backdraft damper and choose rigid duct when possible to reduce static pressure. Label control wires for light, fan, and smart module to avoid confusion during wiring; this small step cuts troubleshooting time later.
Phase 3 — Mechanical installation
Mount the housing securely to framing using the supplied bracket or a universal mounting kit. Align the housing so the grille will sit flush with the ceiling; improper alignment causes vibration and noise. Connect ducting with smooth transitions and foil or metal tape, not cloth tape. Install the grille and light trim last to keep the motor protected. Remember load limits on joists — oversized housings sometimes need blocking or reinforcement.
Phase 4 — Electrical wiring and safety checks
Wire per the manufacturer’s diagram and local code: separate switched hot for light and fan if required, and confirm the neutral is solid. If the unit has a smart module, follow the wiring notes for any required continuous power to the module. Before finalizing, turn the breaker on briefly to test motor rotation and light function, then turn it off for insulation and finish work. Use a GFCI where code demands, and secure all connections in approved junction boxes.
Phase 5 — Smart pairing and commissioning
Follow the vendor’s pairing procedure: usually put the device into pairing mode, use the app or hub to discover the fan/light, and confirm firmware is up to date. Keep your phone close and on fresh battery; Bluetooth pairing improves when devices are within a few feet. For Wi‑Fi modules, confirm SSID compatibility (2.4 GHz vs. 5 GHz) — many modules require 2.4 GHz. After pairing, set schedules, humidity thresholds, or automation rules so the fan runs as intended without manual intervention.
Common mistakes and quick fixes
1) Undersized ducting: a 110‑CFM fan on a 3‑inch duct kills airflow — upsizing to 4‑ or 6‑inch may be necessary. 2) Ignoring static pressure: long runs or multiple elbows reduce effective CFM; measure or estimate and compensate. 3) Skipping the first‑article test: always run the unit before finishing the ceiling — it saves ripping out drywall later. Small oversight here causes the biggest headaches — trust the process.
Maintenance and performance verification
Schedule an annual check: clean the grille, inspect the motor housing for dust, and verify duct joints and the backdraft damper. Measure on‑site CFM with a simple flow hood or inferred from pressure and fan curves if you have access — confirm the unit still meets the target CFM and that noise remains within the rated sone. Replace bulbs with the manufacturer‑recommended type to avoid overheating the trim or voiding the warranty.
Selecting the right unit — a practical checklist
Use this quick checklist when choosing or evaluating units:
- CFM vs. room size: does the fan meet ASHRAE or local code ventilation targets?
- Duct compatibility: is recommended duct size achievable without excessive elbows?
- Electrical needs: does your circuit support the combined light and smart module?
- Noise rating: is the sone acceptable for the space?
- Smart features: will the pairing and network requirements fit your home hub?
Real‑world anchor and credibility
Practices described here align with ASHRAE 62.2 guidance and common residential code requirements used across the US and Europe; contractors in urban refurb projects—especially in places with strict ventilation rules like London and New York—routinely verify CFM and duct lengths to avoid mold and condensation issues. In my own retrofit work in Istanbul, appropriately sizing ducting and confirming pairing on the job site prevented two costly callbacks.
Advisory close — three golden rules
1) Match CFM to need: select a fan that meets or exceeds ASHRAE recommendations for your bathroom volume. 2) Minimize static pressure: use the shortest, straightest ducting and correct diameter to preserve rated airflow. 3) Verify electrical and network requirements before purchase: ensure the circuit, neutral, and Wi‑Fi/Bluetooth environment support the unit. Apply these rules and installation becomes predictable and safe.
For well‑engineered, integrative solutions that align with this framework, consider models that combine robust motor design, clear installation guides, and reliable smart modules — such as those offered by Orison. —